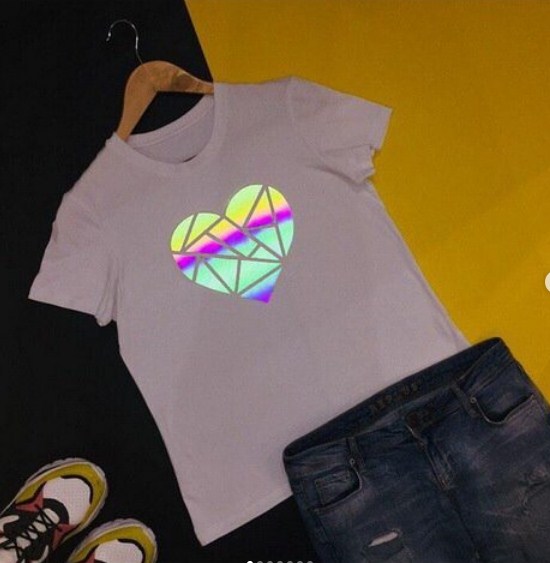
Reflective heat transfer film is a PVC material that is permanently adhered to clothing at a temperature of 150 degrees. When exposed to light, the heat transfer film lights up in the dark and at dusk from a distance of 200 to 250 meters.
With the help of a cutting plotter, professional drawings, logos, and inscriptions are cut out of PVC reflective, which are perfectly integrated into the design of modern clothing.
In this article, we'll look at five simple steps to using reflective thermal film so that you can create stylish and "glow-in-the-dark" clothing for every day.
1. Select and prepare the fabric
Select the appropriate fabric. It is best to use natural or synthetic fabrics, such as cotton or polyester, that are good at transferring heat. Make sure the fabric is clean and smooth to ensure better contact with the heat reflective film.
Be sure to do a test on a small piece of fabric before the main run, it is important to check the fixation (adhesion), then do a test of the reflective effect.
2. Preparation of reflective heat transfer film
The standard width of a roll of reflective film is 50 mm. The soft PVC backing is perfectly cut with ordinary scissors or a utility knife. A pre-prepared stencil will help you cut out almost any pattern using a template. For more complex projects, such as logos, design drawings, and various prints, use a cutting plotter.
Next, place the finished template on the fabric to determine the optimal position on the garment.
3. How to use reflective thermal film on fabric
A short step-by-step instruction:
3.1 Preheat your heat press or iron to 150 degrees;
3.2 Place the fabric with the thermal film on a flat and hard surface. An important point, the dark side of the reflective film touches the fabric, and the glossy side is directed towards the heat press;
3.3 Time: 12-15 seconds of contact of the heat press with low pressure;
3.4 Remove the protective film after it has cooled down due to the temperature contact;
4. Cooling and removing the protective film
After the thermal transfer is complete, allow the fabric and the thermal film to cool for a few minutes. Then carefully remove the protective film to reveal the bright and reflective print on your fabric.
5. Fixing the reflective heat transfer film
To ensure the durability and stability of the reflective layer on the fabric, we recommend ironing it on the back for 5 seconds. This will help fix the thermal film to the fabric and prevent it from peeling off during subsequent washing.
Now your fabric has a bright and reflective element that can increase visibility in the dark and ensure safety at night near the road.
We recommend you our top 3 reflective thermal films:
1. Classic gray reflective heat transfer film that reflects light;
2. Light gray reflective heat transfer film;
3) Chameleon reflective thermal film;
It is important to remember that transferring reflective thermal film to clothing requires some practice and accuracy. It is recommended that you conduct a test transfer on a small piece of fabric before starting work on the main run. This will help you get comfortable with the process and achieve the best results.
So, by following these five simple steps, you can easily create a reflective effect on your clothing, making you more visible and safer in the dark.


